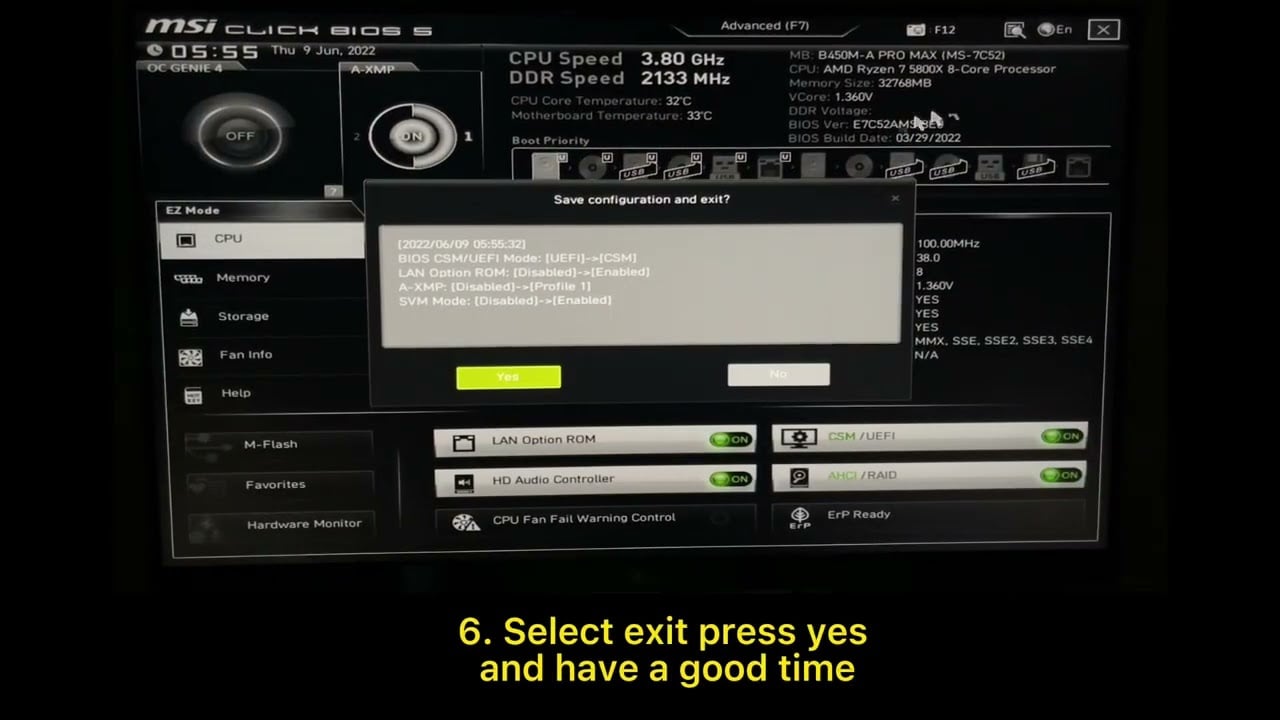
Enable/Disable Virtualization in BIOS
Step-by-Step Instructions
-
- Restart your computer.
- Press the BIOS key during startup. Common keys are F2, F10, Delete, or Esc (check your computer’s manual for the specific key).
- In the BIOS menu, navigate to the “Advanced” or “Configuration” tab.
- Find the option for “Intel Virtualization Technology,” “Intel VT-x,” or “AMD-V.”
- Set the option to “Enabled” or “Disabled” as needed.
- Save changes and exit the BIOS menu (usually by pressing F10).
- Your computer will restart with virtualization enabled or disabled.
Reminder: This process may vary for different motherboards. If you cannot find this setting in your BIOS, search for your specific motherboard model on Google or YouTube for detailed instructions.
MSI BIOS Virtualization Enable/Disable Tutorial Video
ASUS BIOS Virtualization Enable/Disable Tutorial Video
Gigabyte BIOS Virtualization Enable/Disable Tutorial Video


